
The Honeywell TH8321U1006 is a user-friendly, touch-screen programmable thermostat from the VisionPRO 8000 Series, offering precise temperature control, programmable schedules, and compatibility with RedLINK accessories for enhanced comfort and energy efficiency․
1․1 Overview of the VisionPRO 8000 Series
The VisionPRO 8000 Series by Honeywell is a line of advanced, touch-screen programmable thermostats designed for residential and light commercial use․ Known for their user-friendly interface, these thermostats offer precise temperature control, programmable scheduling, and compatibility with RedLINK accessories․ The series, including the TH8321U1006, features a large, backlit display and intuitive menu-driven programming, making it easy to customize comfort settings while optimizing energy efficiency․
1․2 Key Features of the Honeywell TH8321U1006
The Honeywell TH8321U1006 offers a touch-screen interface, programmable scheduling, and RedLINK accessory compatibility․ It provides precise temperature control, energy efficiency, and remote monitoring․ The thermostat features a backlit display, menu-driven programming, and compatibility with various HVAC systems, including heat pumps and dual fuel systems․ Its advanced features ensure comfort and energy savings, making it a versatile choice for modern homes․

System Requirements for Installation
The Honeywell TH8321U1006 requires compatibility with standard 24V HVAC systems, including heat pumps and dual fuel setups․ A common wire (C) is necessary for proper operation․
2․1 Compatibility with HVAC Systems
The Honeywell TH8321U1006 is compatible with most standard 24V HVAC systems, including conventional gas, oil, and electric furnaces, as well as heat pumps and dual-fuel systems․ It supports 1H/1C and 2H/1C configurations, making it versatile for various heating and cooling setups․ Proper functionality requires a common (C) wire, ensuring reliable operation across compatible systems․
2․2 Electrical Requirements and Safety Precautions
The Honeywell TH8321U1006 requires a 24V HVAC system and a common (C) wire for reliable operation․ Always disconnect power at the circuit breaker before installation to prevent electrical shock․ Ensure the system is completely de-energized, as indicated by no fan operation or lights․ Installation should be performed by a qualified technician to avoid hazards․ Follow the manual’s guidelines to prevent wiring errors and ensure safe operation․
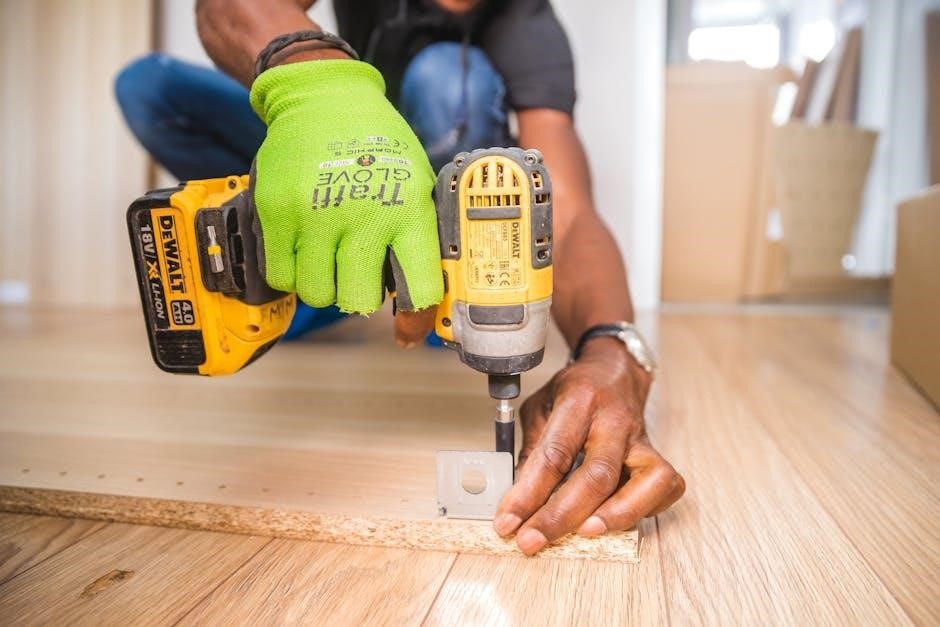
Tools and Materials Needed for Installation
Essential tools include a screwdriver, pliers, wire strippers, and a drill․ Materials required are wall anchors, screws, and the thermostat kit with wall plate․
3․1 Essential Tools for the Job
The essential tools for installing the Honeywell TH8321U1006 include a screwdriver, pliers, wire strippers, and a drill․ A voltage tester is recommended to ensure power is off․ A level ensures proper wall plate alignment․ Additional tools like a pencil and drywall anchors may be needed for mounting․ Having these tools ready will streamline the installation process and ensure accuracy․ Proper tools are crucial for safe and effective thermostat installation․
3․2 Additional Materials Required
Additional materials needed for installation include wall anchors, mounting screws, and wire connectors․ A voltage tester is recommended for safety checks․ Ensure you have spare wire nuts and electrical tape for secure connections․ If necessary, adhesive wall pads or shims may be used for leveling․ These materials ensure a stable and safe installation of the Honeywell TH8321U1006 thermostat, promoting proper functionality and longevity of the system․

Step-by-Step Installation Guide
This guide provides a detailed, step-by-step approach to installing the Honeywell TH8321U1006, ensuring a safe and efficient setup process with essential tools and materials for optimal performance․
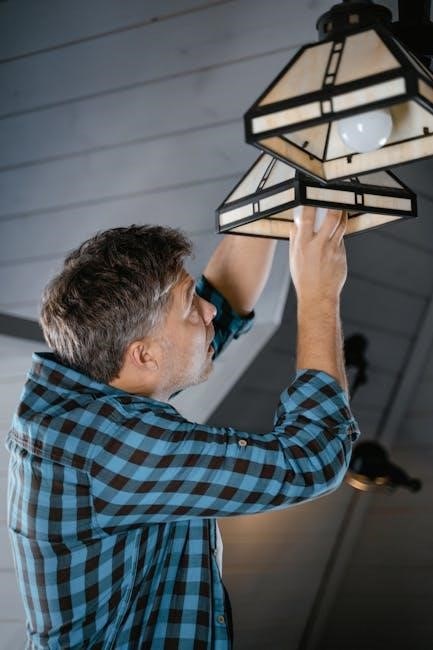
4․1 Disconnecting Power and Removing the Old Thermostat
Switch off the circuit breaker controlling the HVAC system to ensure safe installation․ Verify power is off by checking for any active components like fans or lights․ Remove the old thermostat by detaching its faceplate, then carefully disconnect it from the wall․ Note the wire colors and positions before disconnecting them to facilitate proper reconnection․ Store the old thermostat securely until disposal․
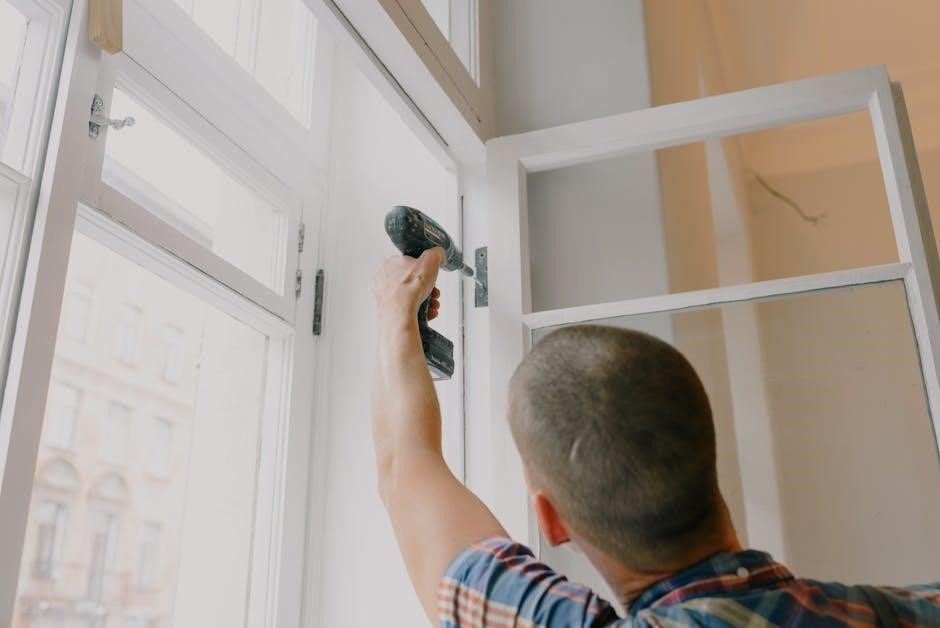
4․2 Mounting the Wall Plate
Mount the wall plate 5 feet above the floor in a location free from drafts, sunlight, and heat sources․ Use a level to ensure horizontal alignment․ Mark the position, drill pilot holes, and secure the plate with provided screws․ Ensure the plate is firmly attached and wires are neatly routed through the slot provided․ This step ensures a stable base for the thermostat, facilitating accurate temperature control and smooth operation․
4․3 Connecting Wires to the New Thermostat
Connect the wires to the new thermostat by matching their colors to the terminal labels, as shown in the wiring diagram․ Ensure the power is off at the circuit breaker before starting․ Carefully remove the wires from the old thermostat and note their colors․ Attach each wire to the corresponding terminal on the new thermostat, securing them firmly․ Double-check all connections for accuracy and security before proceeding with the installation․
4․4 Installing and Securing the Thermostat
Align the thermostat with the wall plate, ensuring the pins match the holes․ Gently press the thermostat onto the plate until it clicks securely into place․ Verify the thermostat is level and firmly attached․ Double-check that all wires are properly connected and not pinched․ Once installed, restore power at the circuit breaker and test the thermostat by adjusting settings to ensure proper functionality and system response․

Wiring Diagrams and Terminal Connections
The manual provides comprehensive wiring diagrams with color-coded labels for terminals like R, Y, G, C, and more, ensuring accurate connections for proper thermostat functionality․
5․1 Understanding the Wiring Labels
The Honeywell TH8321U1006 manual provides clear wiring labels, such as R (power), Y (compressor), G (fan), and C (common)․ These labels guide users to connect wires correctly․ The manual includes detailed diagrams for various HVAC systems, including heat pumps and furnaces․ Understanding these labels ensures proper connections, preventing errors․ Always refer to the diagram for your specific system type to avoid miswiring․ This step is critical for safe and functional installation․
5․2 Matching Wire Colors to Terminal Labels
Match each wire color to the corresponding terminal label on the Honeywell TH8321U1006․ For example, the red wire connects to “R” (power), yellow to “Y” (compressor), green to “G” (fan), and white to “W” (heat)․ Always refer to the wiring diagram in the manual for specific configurations, as terminal labels vary by HVAC system type․ Accurate connections ensure proper thermostat operation․ Incorrect wiring can lead to system malfunctions or safety hazards․ If unsure, consult the manual or a professional for assistance․
Configuring the Thermostat
The Honeywell TH8321U1006 requires initial setup, including date, time, and temperature preferences․ Follow the manual to program heating and cooling schedules for optimal performance and efficiency․
6․1 Setting Up the Initial Configuration
Power on the thermostat and follow on-screen prompts to set the date, time, and preferred temperature․ Select your heating/cooling system type and operation mode․ Choose between programmable or manual settings for initial configuration․ Refer to the manual for detailed guidance on navigating the menu and customizing settings to match your comfort preferences and energy efficiency goals․ Proper initial setup ensures smooth operation and optimal performance of the thermostat․
6․2 Programming Heating and Cooling Schedules
Program schedules by setting desired temperatures for wake, leave, return, and sleep periods․ Use the touch-screen interface to create a weekly schedule, adjusting settings for each day; Set cooling and heating temperatures separately for energy efficiency․ Ensure schedules align with your daily routine for optimal comfort․ The thermostat allows custom adjustments to fit your lifestyle, helping you save energy and maintain consistent temperatures throughout the day․
Troubleshooting Common Issues

Address common issues like blank displays, incorrect temperatures, or sensor malfunctions․ Consult the manual for solutions, such as resetting the thermostat or checking wire connections․
7․1 Diagnosing and Resolving Installation Problems
Common installation issues include power outages, miswired terminals, or improper mounting․ Verify the circuit breaker is on and wires are securely connected․ Ensure the wall plate is level and firmly attached․ If the thermostat fails to power on, check for loose connections or incorrect wiring․ Refer to the manual’s wiring diagrams to confirm terminal assignments․ Resolve issues by methodically retracing installation steps and consulting troubleshooting guides․
7․2 FAQs and Common Mistakes to Avoid
FAQs include queries about wiring compatibility and setup errors․ Common mistakes involve failing to disconnect power, mislabeling wires, or mismatching terminal connections․ Ensure the wall plate is level and securely mounted․ Incorrect programming or ignoring safety precautions can lead to malfunctions․ Always consult the manual for wiring diagrams and troubleshooting tips to avoidthese issues and ensure proper installation and operation of the thermostat․
The Honeywell TH8321U1006 installation process is complete․ Perform final checks to ensure proper operation․ For additional support, refer to the full manual or contact Honeywell support for troubleshooting and maintenance tips․ Proper installation ensures optimal performance and energy efficiency for your home․
8․1 Final Checks and Maintenance Tips
After installation, ensure the thermostat is level and all wires are securely connected․ Verify system operation by testing heating and cooling modes․ Regularly clean the touchscreen and check battery levels (if applicable)․ Update software periodically for optimal performance․ Refer to the manual for detailed maintenance schedules․ Ensure proper calibration for accurate temperature control․ Schedule annual HVAC system checks to maintain efficiency and extend thermostat lifespan․ Store the manual for future reference․
8․2 Accessing the Full Honeywell TH8321U1006 Manual
The full Honeywell TH8321U1006 manual is available for free download as a PDF from Honeywell’s official website and other trusted online platforms․ It includes detailed installation guides, wiring diagrams, troubleshooting tips, and maintenance schedules․ The manual also covers advanced features like programmable schedules and RedLINK compatibility․ Downloading the manual ensures you have comprehensive instructions for proper installation, configuration, and operation of your thermostat․ Refer to it regularly to optimize performance and address any issues promptly․